A bracelet knot is a simple technique that secures cords, beads, or stones, allowing bracelets to fit perfectly and stay in place. To tie one, create a loop, wrap the cord around it several times, pull the end through the loop, and tighten. Sealing the ends prevents fraying and ensures durability.
Learning how to tie a bracelet knot is one of the most essential skills for anyone who enjoys jewelry making or repairing their favorite pieces. At Druzy Dust, where we craft and curate elegant gemstone bracelets every day, we have seen firsthand how the right knot can transform a bracelet from flimsy or ill-fitting into a durable and perfectly adjustable accessory. A well-tied knot not only secures beads and stones but also allows for effortless size adjustment, extending the life of your bracelet.
This guide is a complete, beginner-friendly resource covering everything from the basic types of bracelet knots to step-by-step instructions, advanced techniques, expert tips, and care advice. By the end, you’ll understand how to tie a bracelet knot confidently and create adjustable bracelets that are both beautiful and functional.
What Is a Bracelet Knot?
A bracelet knot is a method used to secure the ends of a cord, string, or thread so that beads, charms, or stones stay in place. It is both a functional and decorative technique, depending on the type of knot and the design of the bracelet.
Bracelet knots come in various forms, each serving different purposes:
- Sliding Knot – Allows the bracelet to expand or contract, making it adjustable for different wrist sizes. Ideal for casual and everyday wear.
- Adjustable Knot – Enables resizing while keeping the bracelet secure, perfect for gifts or versatile designs.
- Fixed Knot – A permanent closure that does not move. Often used in bracelets where adjustment is not necessary.
Learning how to tie a bracelet knot ensures that your jewelry remains secure, maintains its shape, and looks professional. Adjustable knots are especially popular in handcrafted gemstone bracelets, where durability and aesthetics are both critical.
Why Adjustable Bracelet Knots Are So Popular
Adjustable bracelet knots are highly favored among jewelry enthusiasts for several reasons:
- Perfect Fit for Every Wrist: Adjustable knots make bracelets versatile. If you're unsure about sizing, refer to this guide on how to measure bracelet size before creating or purchasing a bracelet. Whether gifting to someone else or wearing a favorite piece yourself, the knot allows the bracelet to fit comfortably, regardless of wrist size.
- Easy to Adjust Without Clasps: Unlike traditional bracelets with clasps that can be tricky to fasten, sliding knots allow you to tighten or loosen the bracelet with a simple pull, making it convenient for everyday wear.
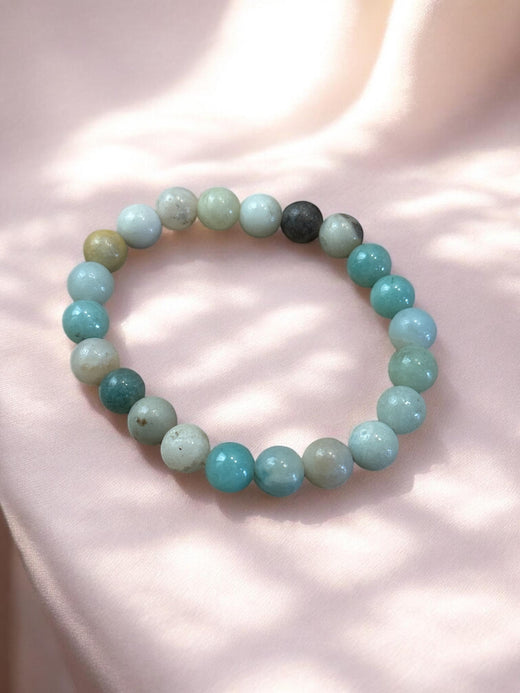
- Durable and Secure for Daily Wear: A properly tied knot holds beads, stones, and charms securely, even with frequent wear. Strong cords used in natural gemstone bracelets, such as amethyst, moonstone, amazonite, or tiger’s eye, paired with adjustable knots, create long-lasting jewelry that can withstand daily use.
At Druzy Dust, our bracelets for women combine beauty with function. Understanding how to wear bracelets can help you style adjustable gemstone bracelets effortlessly for any occasion.
Tools and Materials Needed to Tie a Bracelet Knot
Before you start, prepare your materials to make the process smooth and easy. You will need:
- Bracelet cord or string, such as nylon, waxed cotton, or leather
- Scissors for clean cord ends
- Tape or a clipboard to secure your bracelet while tying
- Lighter or glue to seal ends and prevent fraying
- Beads or stones for decoration
Pro Tip: Use a strong, durable cord, especially when working with natural stone bracelets. This ensures the knots remain tight and your gemstones are securely held. Working with a prosperity-focused piece, understanding the money magnet bracelet benefits can help you approach the knotting process with added intention and care.
How to Tie a Bracelet Knot (Step-by-Step Guide)
Here is a detailed step-by-step guide on how to tie a bracelet knot:
Step 1 – Prepare the Bracelet Cord
Align both ends of the cord so that your beads or stones are centered. This helps create symmetry in the bracelet and prevents uneven spacing once the knot is tied.
Step 2 – Create a Loop
Overlap the ends of the cord to form a base loop. This loop will serve as the anchor for the knot and is essential for creating an adjustable design.
Step 3 – Wrap the Cord Around
Wrap one cord around the other 3–5 times. Keeping the wraps tight and neat ensures that the knot functions correctly and looks professional. Whether you are finishing a Ladies bracelet or a beaded design, consistency is key.
Step 4 – Pull the End Through the Loop
Insert the cord end through the loop to create a locking mechanism. This is what allows the knot to slide while holding the bracelet securely in place.
Step 5 – Tighten the Knot
Pull both ends firmly, testing the sliding motion to ensure the knot moves smoothly without slipping. Proper tension is key to a functional adjustable knot.
Step 6 – Trim and Seal the Ends
Cut off any excess cord and seal the ends with a lighter or glue to prevent fraying. This step increases durability and ensures your bracelet maintains a polished appearance.
By following these steps, you can confidently create a durable, adjustable bracelet. Knowing how to tie a bracelet knot can also help you repair and maintain your favorite pieces, extending their life.
How to Make a Double Sliding Knot Bracelet
The double sliding knot is the most common style for adjustable bracelets.
Why Double Sliding Knots Work Best
- Provide full adjustability on both sides
- Offer a symmetrical, professional appearance
- Secure heavier beads and stones
Step-by-Step Double Knot Method
- Cross the cords and make a loop on one side
- Wrap the cord 3–5 times around the other strand
- Pull the end through the loop and tighten
- Repeat on the other side for a double knot design
Testing the Adjustment: Slide both knots to ensure smooth movement and check that the bracelet expands and contracts evenly without slipping.
Common Mistakes When Tying Bracelet Knots
Avoid these pitfalls when learning how to tie a bracelet knot:
-
Knots Won’t Slide
- Cause: Wraps too tight or uneven
- Solution: Rewrap with even tension and test sliding
-
Loose or Uneven Knots
- Cause: Improper alignment or unequal loops
- Solution: Adjust loops and pull both ends evenly
-
Cord Fraying
- Cause: Rough cutting or lack of sealing
- Solution: Use sharp scissors and seal ends with glue or heat
Following these tips ensures that your knots function correctly and your bracelet remains durable.
Tips from Jewelry Designers for Perfect Bracelet Knots
Professional advice from Druzy Dust:
- Choose a strong cord material that resists fraying
- Maintain symmetry in each wrap for a neat appearance
- Test the knot before finishing to ensure smooth sliding
- Leave extra cord length to allow adjustments or repairs
By following these tips, you can make adjustable bracelets that are both functional and beautiful.
Different Types of Bracelet Knots You Can Try
Expand your designs by experimenting with different knots:
- Sliding Knot – Simple and adjustable
- Overhand Knot – Quick and decorative
- Square Knot – Strong and symmetrical
- Adjustable Macrame Knot – Decorative, perfect for layered designs.
Each knot type adds its own character and functionality to your bracelet, giving you flexibility in design.
Sliding and adjustable knots are particularly popular in bracelets for couples long distance, as they provide a comfortable fit while symbolizing connection and togetherness regardless of distance
How to Care for Bracelets with Knotted Closures
Caring for bracelets with knots extends their life:
- Cleaning: Use a soft cloth to wipe stones and cords. Avoid harsh chemicals that can weaken cords.
- Cord Protection: Keep cords dry and avoid pulling on knots.
- Storage: Lay bracelets flat or hang them to prevent tangling and distortion.
Proper care ensures your knots remain secure and your bracelets retain their beauty over time.
Final Thoughts
Learning how to tie a bracelet knot is an invaluable skill for anyone interested in jewelry. It allows you to repair bracelets, create adjustable designs, and ensure your pieces last longer. By mastering these techniques, you can transform simple cords and beads into beautiful, functional bracelets.
Discover Beautiful Bracelets at Druzy Dust
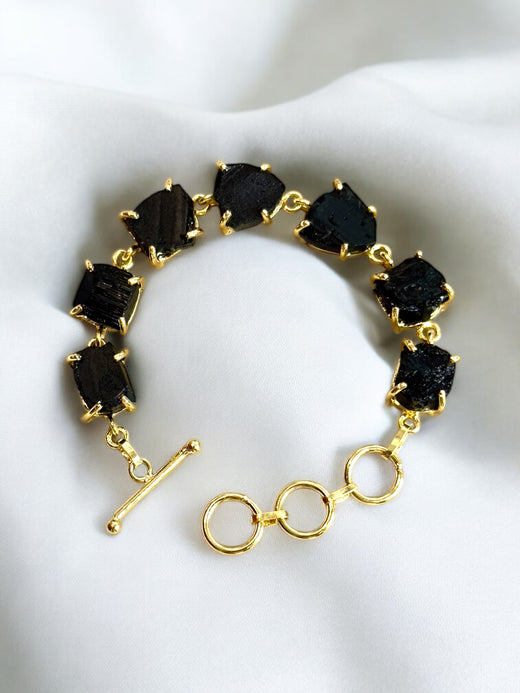
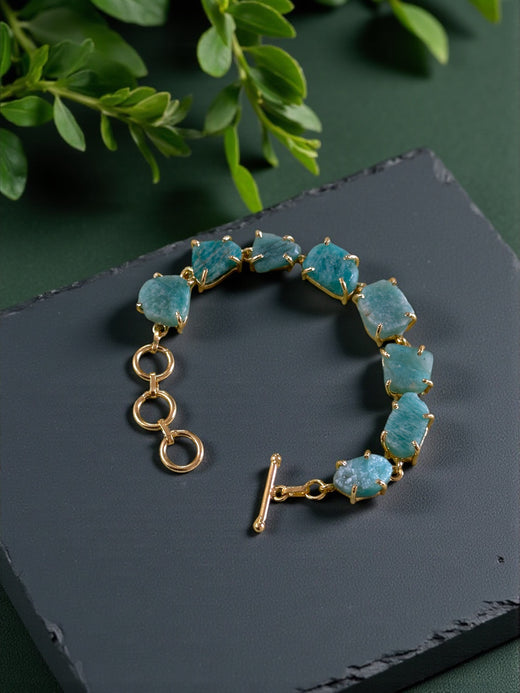
Explore the Druzy Dust collection of handcrafted gemstone bracelets featuring authentic stones, elegant designs, and adjustable styles perfect for everyday wear or special occasions. This includes the delicate pyrite bracelet collection and various healing stone bracelet that utilize these secure knotting techniques. Apply the skills you’ve learned here to appreciate the craftsmanship in each piece.
Browse the Druzy Dust Bracelet Collection and find a bracelet that reflects your style and personality.
Read Our Latest Blogs
Trendy Rings for Women | Which Type of Earrings Suits on Round Face | Latest Pearl Earrings Designs | Different Stones for Rings | Gemstone Jewellery India
Frequently Asked Questions
Q1. How do you tie a bracelet knot that slides?
Form a loop, wrap the cord 3–5 times, pull the end through, and slide to adjust. Ensure the wraps are even and tight for smooth movement.
Q2. Can you retie a bracelet that broke?
Yes, carefully remove the damaged knot and follow the step-by-step guide. Seal the ends after retieing to maintain durability.
Q3. Is a sliding knot stronger than a fixed knot?
Sliding knots are adjustable but slightly less permanent than fixed knots. Using a strong cord ensures the sliding knot remains secure.
Q4. Will knots hold on heavy gemstone bracelets?
Yes, if tied correctly with a strong cord. Double knots increase stability for heavier beads or stones.
Q5. What cord works best for adjustable bracelets?
Nylon, waxed cotton, and leather cords are ideal because they are strong, flexible, and resistant to fraying.
Q6. Why do knots sometimes slip or loosen?
Slippage occurs due to uneven wrapping, insufficient tension, or a weak cord. Rewrap and tighten to solve the problem.
Q7. Where should you place the knot on a bracelet?
Position knots near the ends for adjustability or at decorative junctions for aesthetic appeal.
Q8. Which knot type is best for beginners?
Sliding knots are the easiest for beginners, requiring minimal technique while providing adjustability and durability.